
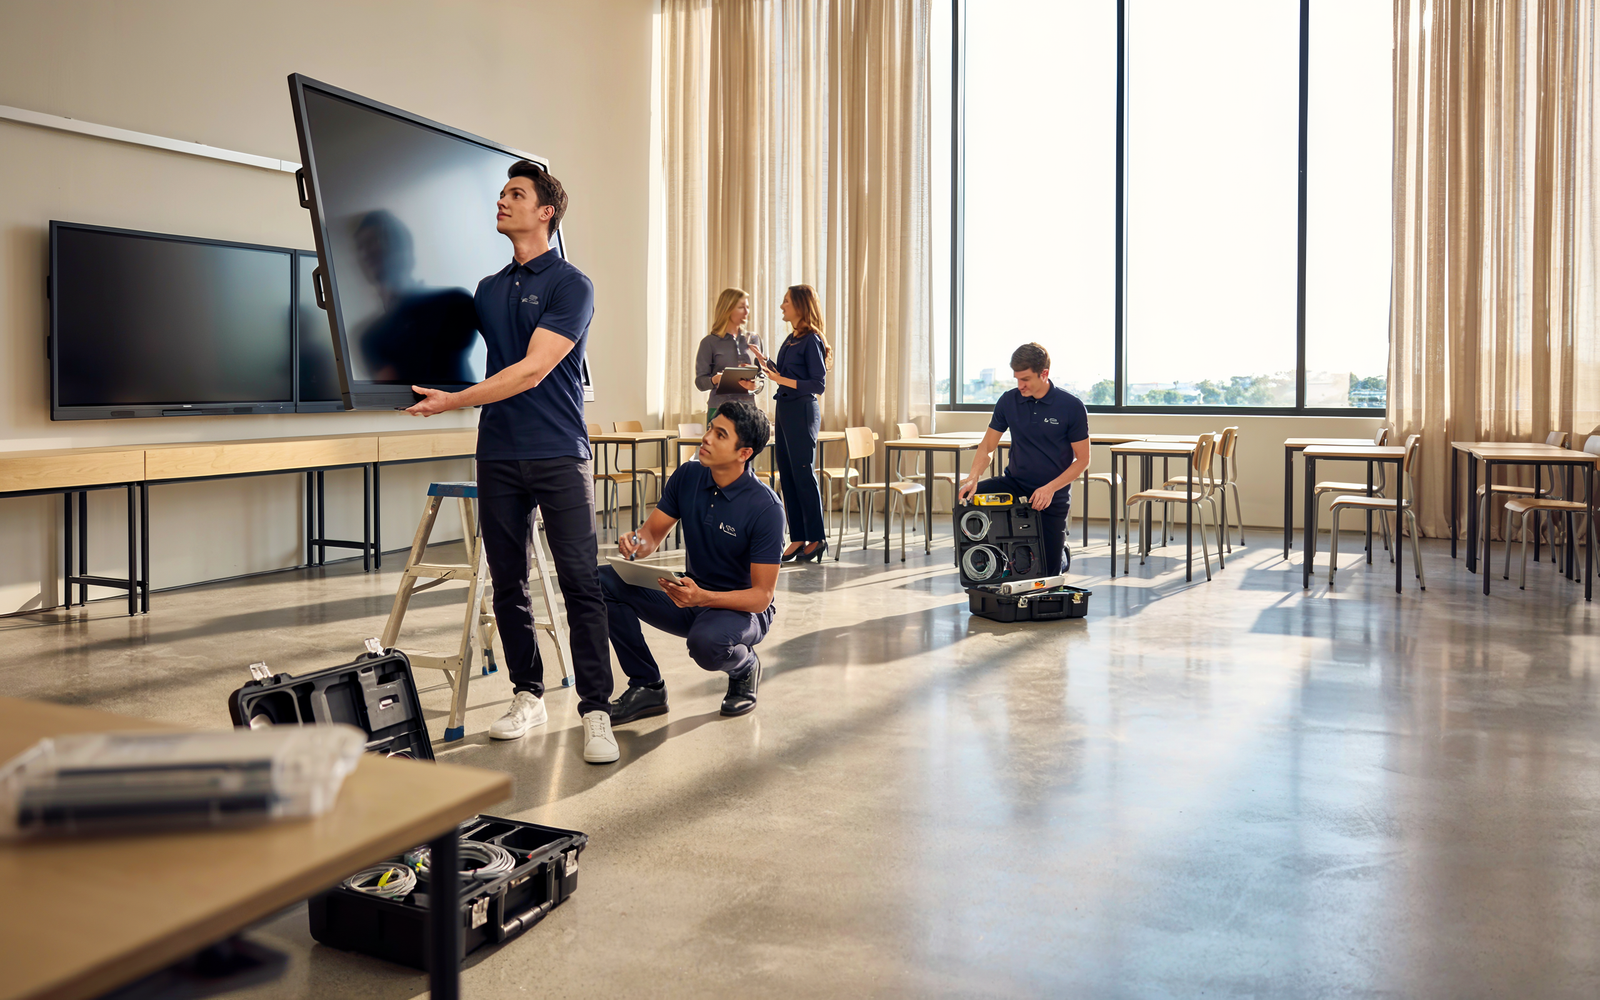
A classroom technology rollout succeeds or fails long before the first day of school. The schools that get it right treat it as a project with a timeline, not a delivery that shows up in a truck. This checklist walks through what a well-run rollout looks like, from first assessment to go-live, so your classrooms are working when students arrive rather than mid-project in September.
Why summer is the window
Installing over the summer is not just convenient, it is strategic. Empty classrooms mean installation happens without disrupting lessons. Networks can be configured and tested with time to spare. And most importantly, teachers get trained before the term begins, when they have the bandwidth to actually learn the tools instead of trying to figure them out between classes.
Miss the summer window and the same rollout has to happen around a full school schedule, which is slower, more disruptive, and harder on everyone.
The rollout timeline, step by step
A typical well-managed rollout runs on a sequence like this:
- Needs assessment. Walk the campus, measure rooms, and decide which spaces get which displays. Room depth determines screen size, and usage determines whether you need fixed mounts or mobility stands.
- Package and budget sign-off. Confirm the equipment, accessories, and any digital signage, and finalize how it’s funded, whether upfront or through a lease.
- Delivery scheduling. Coordinate physical delivery to the campus at a time that fits your summer calendar.
- Structural mounting. Professional installation of displays on walls or stands, done to a standard that is safe and permanent.
- Network calibration. Connect and configure every display on the school network, and test that casting, apps, and connectivity all work.
- Teacher training. Hands-on onboarding so faculty are comfortable running lessons on the new displays before day one.
- Go-live and handoff. Confirm every room is operational, and set up ongoing support so maintenance is handled from here on.
The order matters. Training after mounting and calibration means teachers practice on the exact setup they’ll use, not a demo unit.
What “operational on day one” really means
The goal of a good rollout is simple: on the first morning of school, a teacher walks into the room, turns on the display, and teaches. No wiring left to finish, no software still to configure, no scramble to learn the interface in front of students.
That outcome is the product of the steps above being done in the right order and on time. It is also why a managed, white-glove rollout, where delivery, mounting, calibration, and training are handled end to end, tends to beat a do-it-yourself approach that leaves your IT staff assembling the pieces.
Your pre-launch checklist
Before students return, confirm:
- Every room’s display size matches its dimensions and use.
- All displays are mounted safely and securely.
- Each display is connected, configured, and tested on the network.
- Casting and any classroom apps work in every room.
- Teachers have completed hands-on training.
- An ongoing support and maintenance plan is in place.
- A point of contact is set for any issue that comes up after go-live.
If you can check all seven, you are ready for the first day.
Key takeaways
- Summer is the ideal window because installation and training happen without disrupting lessons.
- Run the rollout as a sequenced project: assess, sign off, deliver, mount, calibrate, train, go live.
- “Operational on day one” means teachers teach on morning one, with nothing left to finish.
- A managed, end-to-end rollout removes the burden from your own IT staff.
Plan the work, and the technology is ready when the students are.
Frequently Asked Questions
When should a school start a classroom technology rollout?
The summer before the school year is ideal. Empty classrooms allow installation and network setup without disrupting lessons, and teachers can be trained before the term begins. Starting the assessment and planning several weeks ahead of installation gives enough runway to be ready by day one.
What are the steps in a classroom technology rollout?
A typical rollout runs in sequence: needs assessment, package and budget sign-off, delivery scheduling, structural mounting, network calibration and testing, teacher training, and go-live with ongoing support set up. Doing them in this order means teachers train on the exact setup they’ll use.
How long does it take to install classroom technology?
The installation itself is quick per room, but a full campus rollout should be planned over several weeks to allow for assessment, delivery, mounting, network configuration, and teacher training. Summer provides the ideal window to complete all of it before students return.
What does a white-glove or managed rollout include?
A managed rollout handles the entire process end to end: physical delivery, structural mounting, network calibration, and hands-on teacher training, followed by ongoing support. It removes the setup burden from the school’s own IT staff so classrooms are operational on the first day.
How do we make sure teachers actually use the new technology?
Hands-on training before the school year is the key factor. Teachers who practice on the actual displays they’ll use, with time to get comfortable before classes start, use the technology daily. Training squeezed in after the year begins tends to leave displays underused.